Last updated November 17, 2026



Free written scope consultation - allowances, timeline, and change-order rules on paper before a single trade is scheduled
Home Additions & ADU Troubleshooting: Common Problems and How to Fix Them
A sagging floor at the junction between an addition and an existing home is almost never a framing defect. It’s a foundation ledger beam attached to old concrete without mechanical anchors – a detail that costs about $200 to do correctly and $12,000 to $40,000 to fix once the drywall is up and the furniture is in. The most expensive failures in Dallas home additions don’t show up during construction. They surface 18 months later, when a foundation transition settles, a moisture barrier underperforms, or an HVAC system sized for the original footprint can’t serve the expanded square footage. Below we map each failure back to the construction decision that caused it, so you can diagnose what you’re seeing and know what a correct fix costs in Dallas.
Quick Answer
The most common problems with home additions and ADUs in Dallas are ledger and foundation tie-in failures at the connection to the existing house, roof valley leaks where the new and old rooflines meet, HVAC systems that can’t carry the added square footage, vapor barriers placed wrong for a mixed-humid climate, and electrical circuits backfed from an already-loaded panel. Most of these are structural, envelope, or mechanical decisions made before the first inspection, not workmanship you can patch later. The correct fixes run from a $1,500 subpanel install to $12,000 to $40,000 for a foundation re-tie, and the paper trail – signed drawings, permit records, a written scope – determines how much of that you can recover.
Styles & brands we work with
- Kitchen remodeling
- Bathroom remodeling
- Home additions & ADU
- Roofing
- Windows & doors
- Driveway & pavers
- Fence
Table of Contents
- Ledger Connections: Where Additions Start to Fail
- Foundation Tie-Ins and Differential Settlement
- Roof Valley Flashing at the Old-New Junction
- Header Sizing and Shear Wall Continuity Over New Openings
- HVAC Underperformance: Manual J and the Real Fix
- Moisture and Vapor Barrier Failures in Dallas’s Zone 2A Climate
- Electrical Troubleshooting and the Backfed Panel Problem
- Using Documentation to Get Problems Fixed
Ledger Connections: Where Additions Start to Fail
A ledger beam is the pressure-treated board bolted to the existing house that carries the addition’s floor or roof framing. The failure mode is simple and predictable: the ledger was attached with nails, powder-actuated fasteners, or plain lag screws into old concrete or aged rim joist, without engineered mechanical anchors and without flashing. Over a Dallas summer of thermal expansion and a wet spring, that connection opens a fraction of an inch. Load shifts to the interior footing and the floor sags at the doorway between old and new.
Here’s how a licensed crew ties a ledger correctly, so you can compare against what you see:
- Mechanical anchors (wedge or sleeve anchors) set into the foundation at an engineer’s specified spacing, not nails or tapcons alone.
- A continuous metal ledger flashing behind the board, lapped and sealed, so water can’t sit against the wood.
- Rim joist blocking between the ledger and the house frame to spread point loads.
- An inspection of the anchor depth and embedment before the deck sheathing goes down.
If your addition has a spongy threshold or a visible gap at the trim line, that’s the symptom. Retrofitting anchors and flashing into a finished addition is intrusive but far cheaper than letting the ledger continue to move – in our experience across Dallas jobs, that repair lands in the low five figures once finish carpentry, paint and flooring are restored. It sits at the top of the list for any Home Additions & ADU in Dallas project review.
Foundation Tie-Ins and Differential Settlement
Dallas sits on expansive clay soils that swell in spring and shrink through a dry summer. An addition pours its own foundation and the original house sits on a footing that’s decades older. If the two are not tied together with doweled rebar or a keyed cold joint, they move at different rates. You get a step crack in the brick veneer, a door that won’t latch, and drywall seams opening along the junction – none of which is “settling in” after the first year.
The tell is a crack that grows on a diagonal from a corner of the new opening, paired with a level difference across the threshold. A correct tie-in includes:
- Dowels epoxied into the existing footing at a specified spacing and lapped into the new footing steel.
- A keyed or roughened joint rather than a smooth butt against old concrete.
- An engineer’s footprint for the new footing matched to the soil bearing capacity, not a default slab thickness.
- A drainage plan that keeps roof and surface water away from the joint.
Underpinning or a pier-based re-tie on a Dallas addition typically runs $12,000 to $40,000 depending on depth and how much interior finish has to come out. If you’re remodeling a kitchen or bathroom as part of an addition, a fixed written price before work starts tells you whether that cost is already in the scope or waiting to surprise you – see Rowan Construction Group Dallas home for how a written price and signed change orders work here.
Roof Valley Flashing at the Old-New Junction
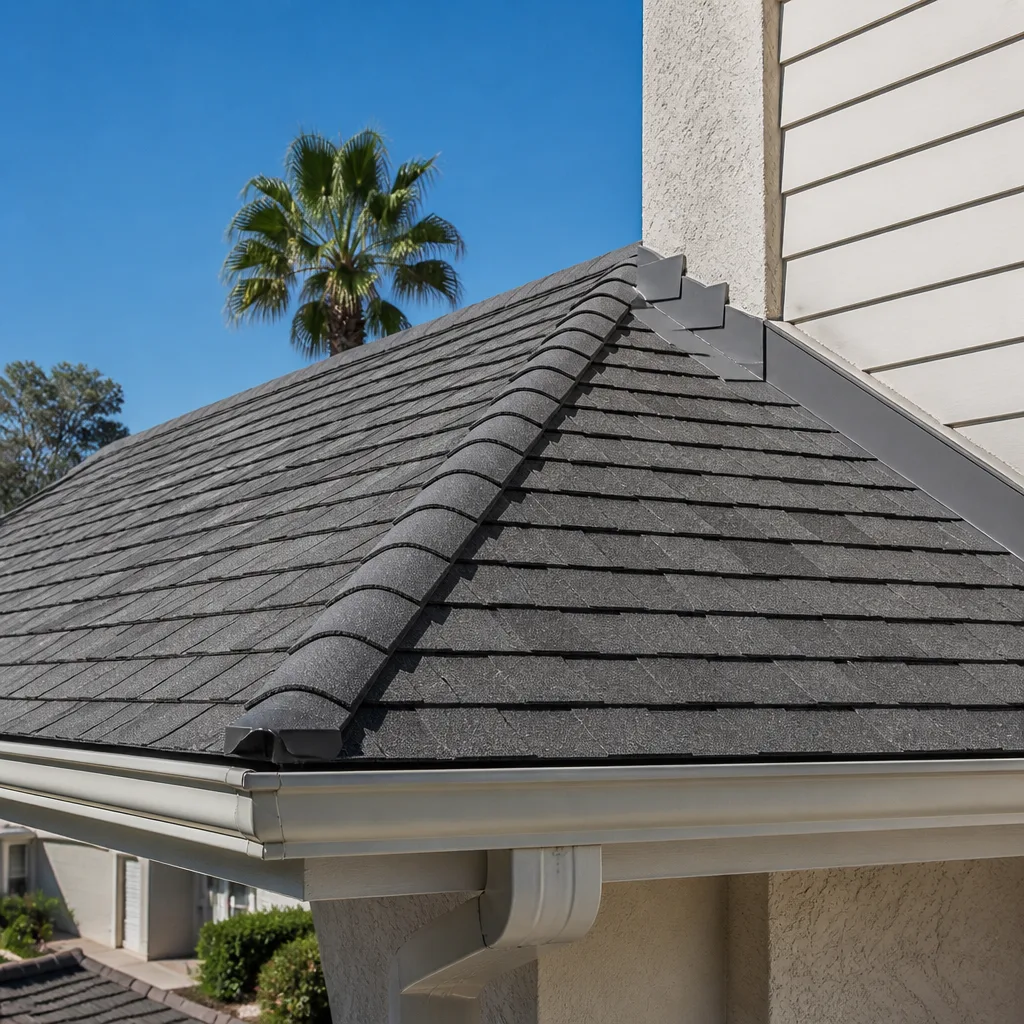
The valley where the addition’s roof meets the existing roofline is the first place a Dallas downpour finds. Most valley leaks trace to three decisions: the flashing was omitted and the shingles were woven instead, the underlayment was a single layer of 15-pound felt rather than a self-adhering membrane, or the new work used a lower-grade shingle than the original roof. We name real materials because the grade matters – GAF and Owens Corning make genuinely different product lines, and a valley deserves a self-adhered membrane under it, not a paper underlayment the same crew wouldn’t put on their own house.
What to check and what a correct valley includes:
- Visible metal valley flashing at least 24 inches wide, centered on the valley line, under the shingles.
- A self-adhered waterproofing membrane in the valley and along the low-slope transition.
- Shingle courses from the original roof stepping onto the new plane consistently, so ice and wind uplift aren’t working an edge.
- A documented photo of the valley before the shingles go down – the single cheapest piece of evidence a homeowner can hold.
Ask for it. A leak here costs $600 to $2,500 to repair before there’s rot, and a good bit of that is the drywall and insulation inside. Ridge-to-soffit checking after a hard rain is a five-minute habit worth keeping.
Header Sizing and Shear Wall Continuity Over New Openings
An addition almost always opens the existing wall – a set of doors, a wide cased opening, a window wall. Every opening removes structure, and the header that carries the load above it has to be sized for the span and the roof load. A header that’s too shallow for a wide opening shows up as a “smile” – a sag in the middle of the opening, with a hairline crack in the drywall above, and a door that drags. That’s a real safety issue, not a finishing detail, because undersized framing can also compromise the shear wall that resists Dallas’s straight-line wind and hail events.
Shear wall continuity means the plywood or OSB sheathing that stiffens the wall must carry through the junction from the existing house into the addition. When a crew cuts a wide opening and re-sheathes only the new side, or leaves a break in the sheathing line, the structure loses its resistance to lateral movement. The fix is a properly sized header (an engineer’s beam specification, not a “we’ll use a 2×10”), a moment-resisting connection, and a continuous sheathing line – or a specified hold-down at the break. A drag of the door plus a crack over the opening is the sign to bring in an engineer before you trim out the room.
HVAC Underperformance: Manual J and the Real Fix
The most common complaint about a Dallas addition is a new room that never gets cool. The cause is almost always the design: the existing system was sized for the original square footage, and the crew “just added a register” to the closest trunk line. Manual J is the load calculation that determines how much cooling and heating a home actually needs, based on square footage, window area, insulation, and orientation. Manual S then matches equipment to that load. Neither is optional for a properly sized addition.
Band-Aid vs. Correct Fix
- Supplemental mini-split: $4,000 to $7,000 to add a ductless head for the new area. Functional, but you end up with two temperature zones and two systems to maintain.
- Extend the existing system: only valid if a Manual J shows the ductwork and the equipment can carry the extra load – usually the answer is no, because the trunk line is already near capacity and the added register starves the far bedrooms.
- New or upsized equipment plus duct redesign: $8,000 to $15,000 for a dedicated system or a properly re-trunked setup, including a Manual J and a documented commissioning record.
If the new room runs 6 to 10 degrees warmer than the existing house on an August afternoon, the system is under-serving the space. Call us for an exact quote if you’re weighing whether to fix it in place or redesign the ductwork before next summer.
Moisture and Vapor Barrier Failures in Dallas’s Zone 2A Climate
Dallas sits in a mixed-humid climate – ASHRAE Zone 2A. In a mixed-humid zone the vapor barrier belongs on the interior side of the wall assembly in a conditioned space, and on the exterior in a wall that isn’t. Placing a poly vapor barrier on the wrong side traps moisture in the wall cavity, and you get mold behind the drywall, soft framing, and a musty smell you can’t source. It’s the classic mistake when an addition reuses a construction approach copied from a different climate zone.
The good news: an installed moisture barrier can often be checked without cutting into a wall. Signs and non-destructive checks:
- Look for a barrier on the interior side behind any electrical box or outlet plate on the addition’s exterior wall. If you see plastic behind the drywall on the inside, it’s misplaced.
- A moisture meter reading at the base of the wall, in the drywall above the floor line, tells you if the assembly is wet in summer.
- A thermal camera during a cold snap shows the cold spots where a barrier is missing.
- Look at the exterior – a house wrap or a fluid-applied membrane that lets the wall dry to the outside is the right move in 2A, with no continuous interior poly.
Correcting a mixed-humid vapor barrier after the fact means removing interior finish on the affected walls. The fix itself is cheap – a proper weather-resistive barrier and careful sealing – but the drywall and paint removal is not. This is one to specify on the drawing, in writing, before work starts.
Electrical Troubleshooting and the Backfed Panel Problem
An addition needs new circuits: outlets, lighting, a mini-split or a dedicated heat pump, sometimes a bathroom GFCI. The common shortcut is to backfeed – pull new branch circuits off an existing panel that was already near capacity. In Dallas’s older neighborhoods, a panel from the original build with a handful of additions over the years is often within a breaker or two of its rating. The signs of a backfed, overloaded situation: breakers that trip when a space heater or microwave runs, a warm panel cover, flickering lights in the addition when the existing house loads change, and a main breaker that trips on hot afternoons when the AC and the new room’s equipment both call.
The correct fix is a subpanel – a dedicated panel fed from the main with its own breaker, sized for the addition’s load. In the Dallas area that runs roughly $1,500 to $3,500 installed, including the feeders and the permits. It’s also a code question: the load calculation the electrician runs (Article 220 load calc) is what the permit needs to justify the panel’s size, and it’s the document that tells you the original panel is compliant or has to be upgraded. Never ask a crew to “just add a breaker” to a full panel; that’s a fire risk and a code violation, not a value.
Using Documentation to Get Problems Fixed
The difference between a homeowner with leverage and one without is paper. If you have three things, you can hold a contractor accountable: signed drawings with an engineer’s or architect’s specifications, a permit record showing the scope that was actually inspected, and a written scope with line items and a warranty. With those, a problem is a documented deviation and the remedy is contractual. Without them, you’re negotiating on memory and the contractor’s sense of goodwill.
What to assemble, in order:
- The signed contract and any signed change orders, since each one defines what was agreed – and a change order you didn’t sign is not an authorized change.
- The permit and the inspection history from the local building department. Passing the final inspection tells you what was checked, not that it’s perfect.
- Photos at each stage you were given, or ask for them if the crew took them.
- The written warranty and the terms page, so you know exactly what “done right” covers and for how long.
Rowan’s approach is documentation as a deliverable: a written price before work starts, a signed change order before any change proceeds, and a documented photo record on every visit, so the paper trail exists without you having to ask. If you’re evaluating a contractor’s work right now and have a written estimate in hand, we’ll review it line by line at no charge as a free second opinion – it’s the fastest way to see whether a problem already has a remedy in writing.
Common Mistakes to Avoid
- Nailing the ledger instead of anchoring it. Powder-actuated fasteners and lag screws into old concrete are the number-one cause of a sagging addition floor in Dallas. It costs about $200 to do correctly and five figures to fix later.
- Letting the addition “float” on its own slab. On Dallas’s expansive clay, an untied foundation settles differently from the original house and the cracks start at the junction within a year.
- Adding an HVAC register instead of running a Manual J. A room that runs 8 degrees warm every August is an under-sized system, not a thermostat problem, and a mini-split is the band-aid.
- Installing a vapor barrier on the wrong side in Zone 2A. Mixed-humid Dallas wants the wall to dry outward; interior poly traps moisture and grows mold behind the drywall.
- Backfeeding new circuits off a full panel. A subpanel at $1,500 to $3,500 is the correct answer, and the load calculation is the permit document that proves it.
- Skipping the photo record in the roof valley and at the foundation. Those are the two hidden details you can’t inspect after the fact, and they’re the two that fail.
- Authorizing changes by phone. If it isn’t on a signed change order, it isn’t agreed, and you have no basis to hold anyone to a price.
See the difference
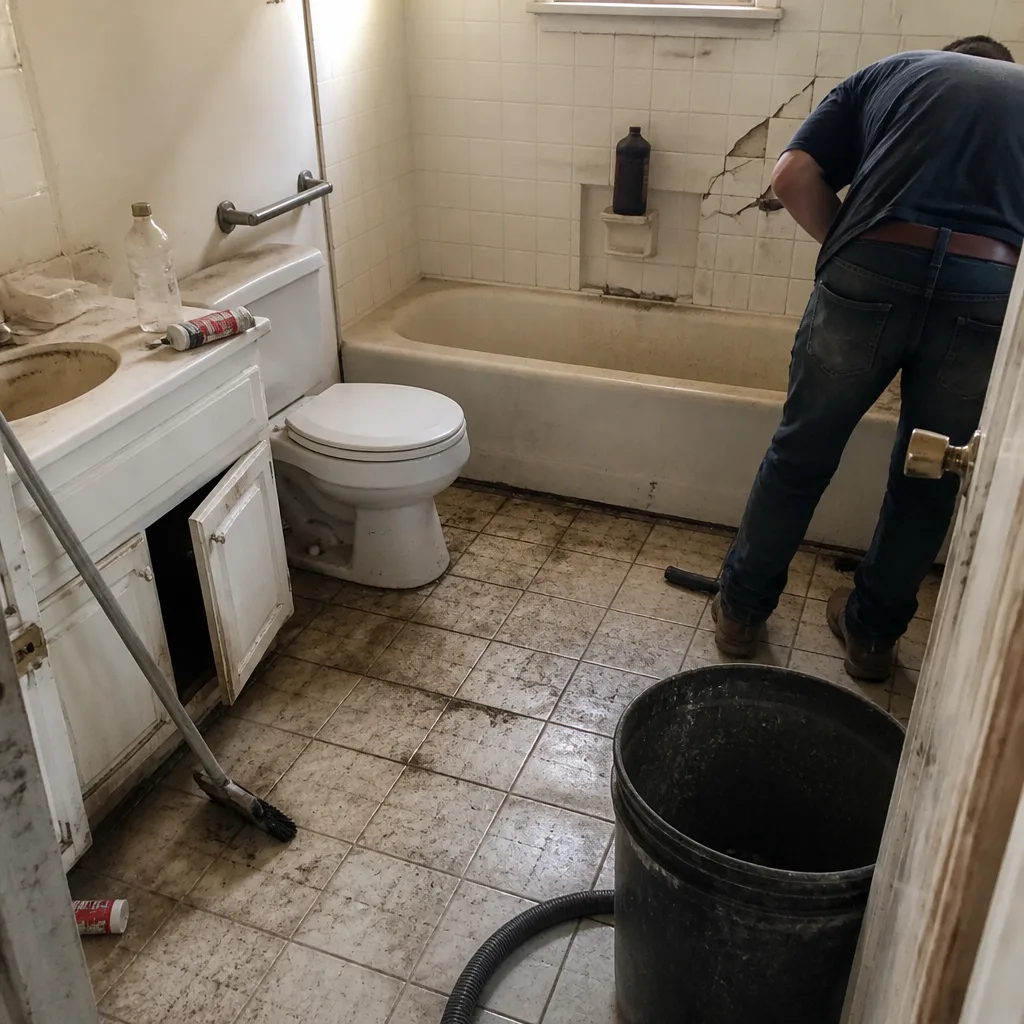 Before
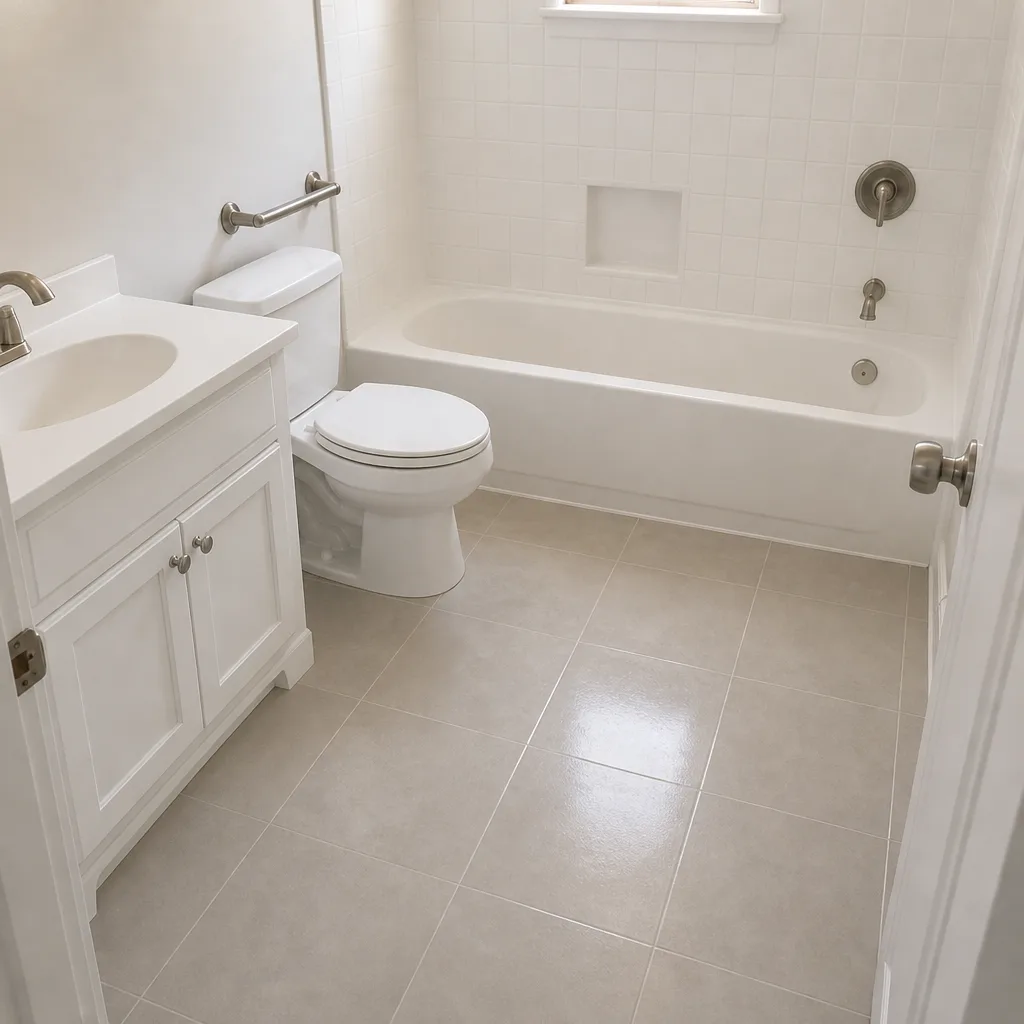 After
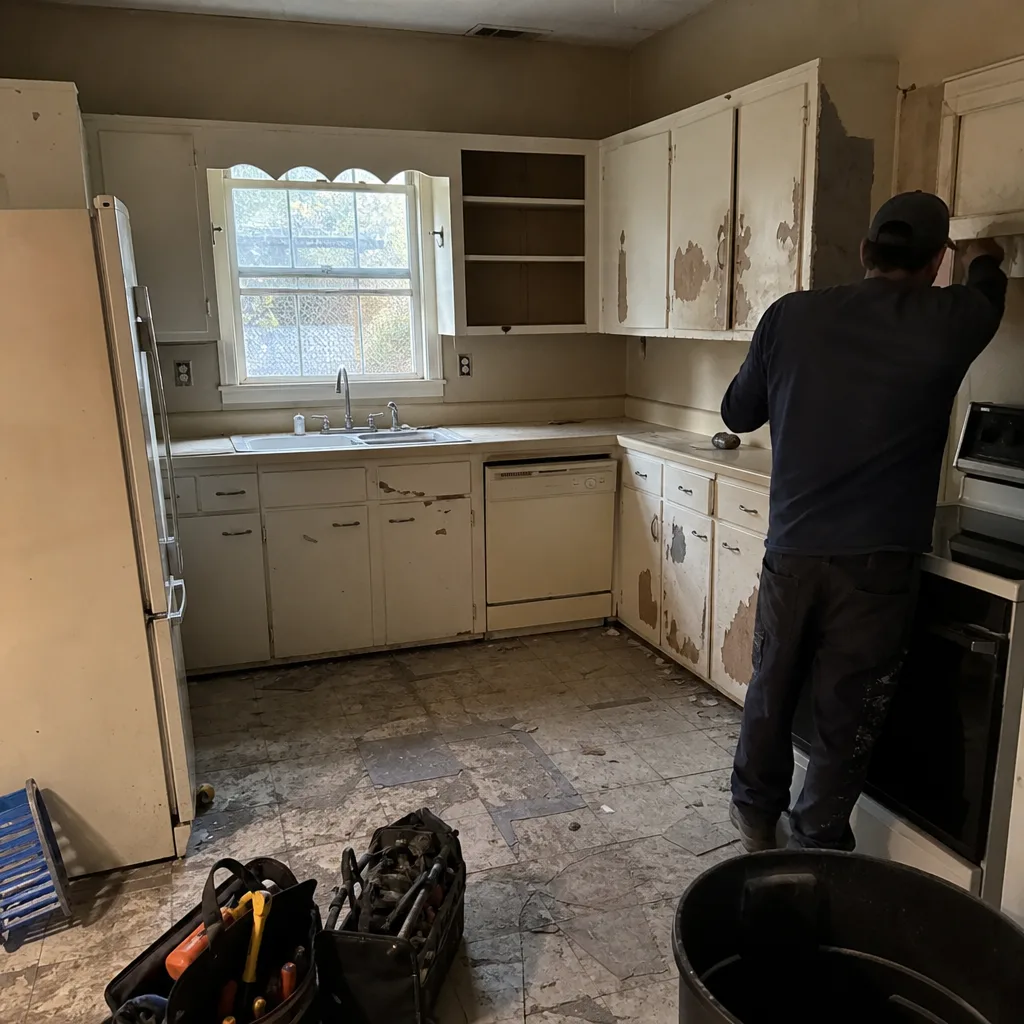 Before
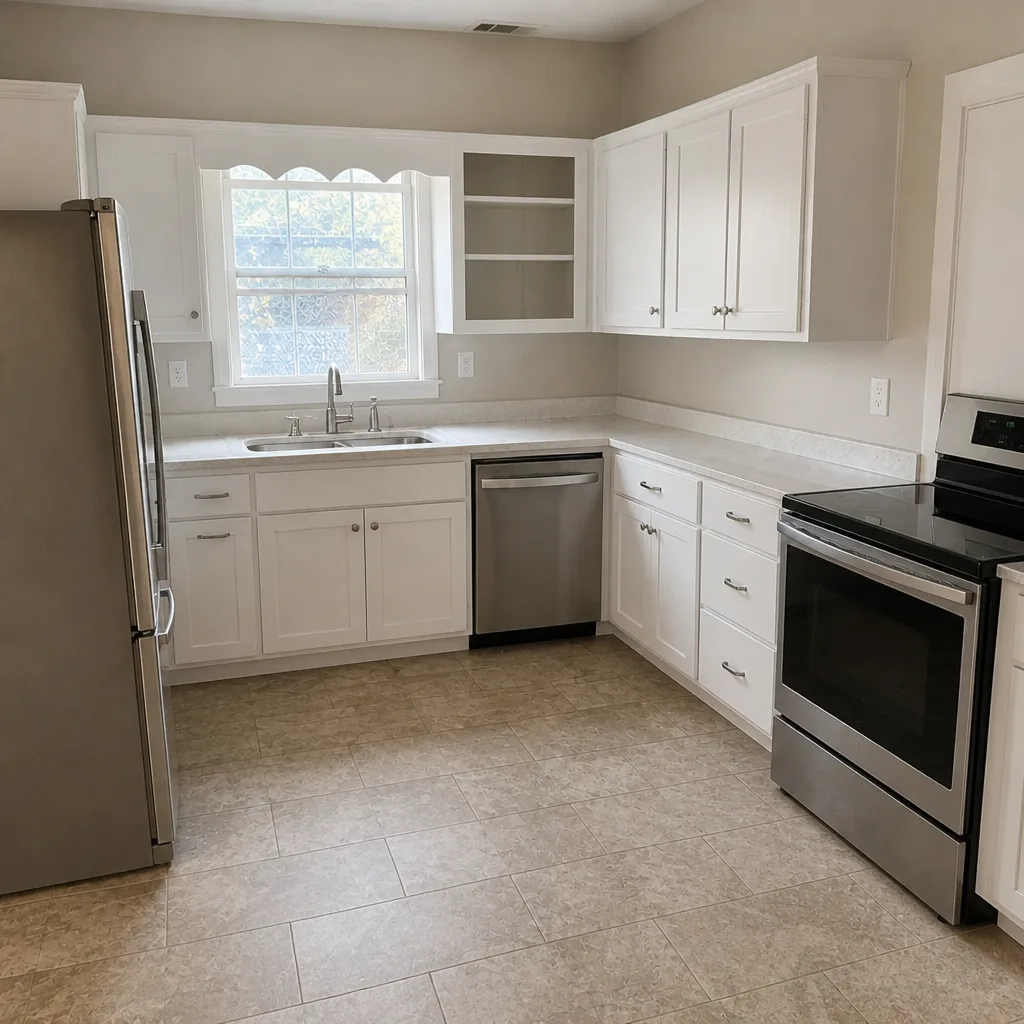 After
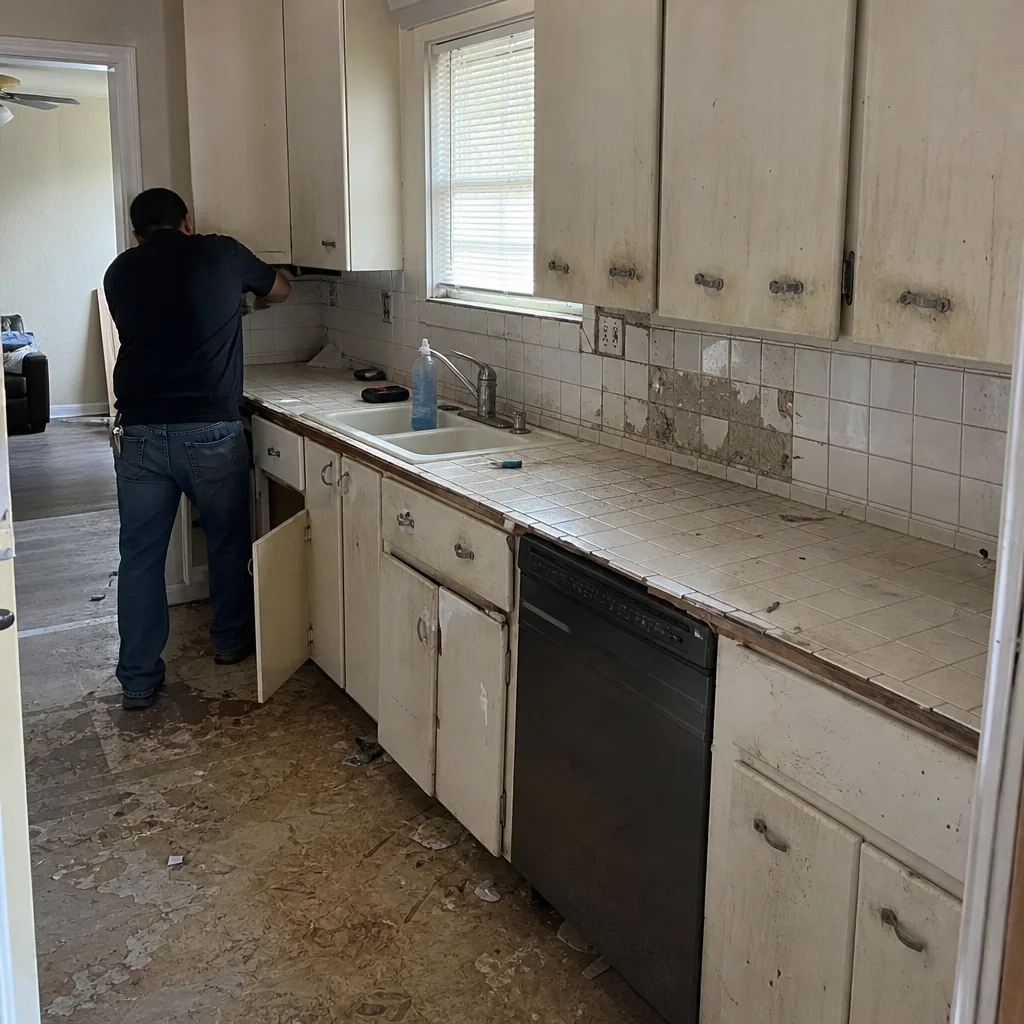 Before
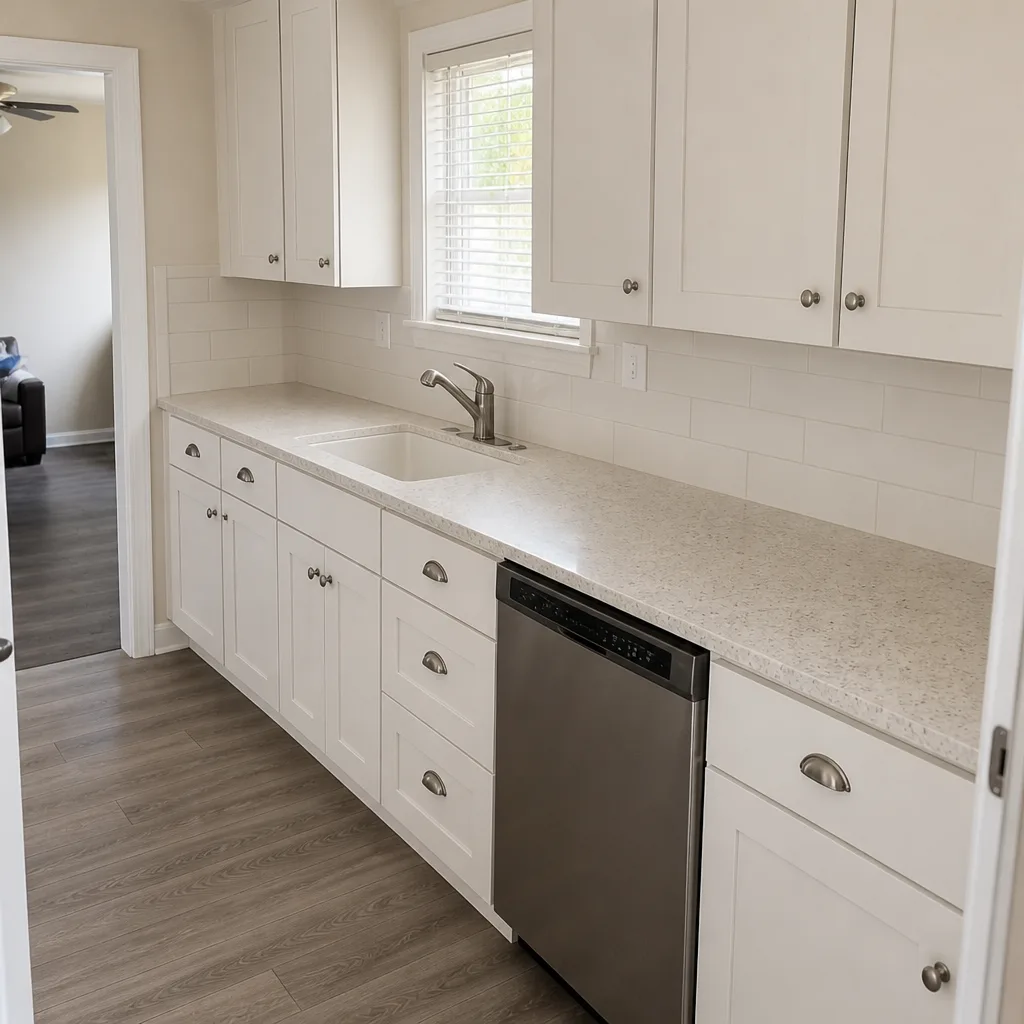 After
When to Call a Professional
Call in a professional the moment you see a diagonal crack growing from a corner of a new opening, a door that suddenly drags or won’t latch, a spongy threshold at the old-new junction, or a room that runs eight degrees warmer than the rest of the house in summer. Water finding its way into the roof valley after a hard rain, a musty smell behind an addition wall, or breakers tripping in the new area all warrant the same response. The first 18 months after completion are when most of these show up, and diagnosing them early is what keeps a $2,500 repair from becoming a $40,000 one. Rowan Construction Group Dallas offers free estimates in Dallas – call (833) 954-5327. Our technicians have up to 19 years of experience with additions and ADUs, and every visit includes a documented photo record as standard.
Frequently Asked Questions
Almost always the ledger connection to the existing house: nails or simple lag screws instead of mechanical anchors, or a missing metal ledger flashing that let water in. The floor sags because that connection let go and load shifted to the interior footing. A correct re-tie with anchors and flashing costs $12,000 to $40,000 once the finish has to come out, so get it diagnosed before you re-trim. Call (833) 954-5327 for a free estimate on the repair.
A supplemental ductless mini-split runs $4,000 to $7,000; the correct fix – a Manual J load calculation, a properly sized system and duct redesign – is $8,000 to $15,000. The added register is the most common and least effective fix. If the new space runs 6 to 10 degrees warmer than the house on an August afternoon, the system is under-sized, and a mini-split just splits the problem into two rooms. Call (833) 954-5327 for an exact quote.
You need one whenever the existing panel can’t carry the addition’s load, which is common in older Dallas homes already near capacity. A subpanel install runs $1,500 to $3,500 and the electrician’s load calculation is the permit document that justifies it. Signs you’re already over are breakers tripping when a heater or microwave runs and a warm panel cover. Call (833) 954-5327 and we’ll size it correctly.
On the interior side in a conditioned space, with the wall allowed to dry to the exterior; Dallas is a mixed-humid Zone 2A climate. A continuous interior poly on an exterior wall traps moisture and grows mold in the cavity, and you usually find out behind a musty drywall baseboard. The barrier placement belongs on the drawing, in writing, before the crew frames the wall. Call (833) 954-5327 to review yours.
Only if it’s a written flat price with a written scope and a signed change-order rule – that is, nothing gets added until a change order is signed. Under Clause 1 of the Haven Standard, the price is written before anyone starts, which is how our projects stay within a few percent of the agreed number. A verbal estimate is not a price. Call (833) 954-5327 for a written line-item estimate.
Yes – we diagnose the structural, envelope and mechanical causes and then quote the repair as a written line-item scope. If you have a competitor’s written estimate for the same repair, we’ll review it line by line at no charge as a free second opinion. Roofing, framing, HVAC and electrical are all in scope under one written price. Call (833) 954-5327 to schedule the diagnosis.
The Bottom Line
Most of the problems that surface 18 months into a Dallas addition trace to five decisions: the ledger connection, the foundation tie-in, the roof valley flashing, the header and shear wall continuity, and the HVAC load calculation. Two more are envelope and electrical – a vapor barrier placed wrong for Zone 2A and circuits backfed from an already-loaded panel. What separates a fixable project from an expensive one is documentation: signed drawings, a permit record, and a written scope. Fix the cause, not the symptom – if you see a sagging floor, a warm room, or water in the valley, call us for a free estimate before the repair gets expensive.
Call (833) 954-5327 to schedule your free estimate with Rowan Construction Group Dallas. Every project gets a written price before any work starts, a fixed scope with no change orders on the work until you sign, and a documented photo record on every visit. Our technicians have up to 19 years of experience, and every crew member is background-checked and uniformed. If you have a competitor’s written estimate for the repair, bring it and we’ll review it line by line at no charge.
Written by the team at Rowan Construction Group Dallas.