Last updated November 17, 2026








Free written scope consultation - allowances, timeline, and change-order rules on paper before a single trade is scheduled
Bathroom Remodeling Troubleshooting: Common Problems and How to Fix Them
Grout cracking in a newly tiled shower within six months of completion is not a grout failure. It’s a substrate movement failure, almost always caused by standard drywall used behind tile instead of cement board or a waterproof foam backer. The grout is just where the movement shows up. We’ve opened enough failed showers in Dallas to know the finish is rarely the culprit; the decisions made before a single tile was set are. This guide walks the five most common post-remodel failures from symptom to root cause, so you can tell whether you’re looking at a cosmetic patch or a structural teardown, and what recourse you have in Dallas when the original contractor is still reachable.
Quick Answer
Most bathroom remodel problems that surface after the job is done trace back to substrate and rough-in work, not the finish materials. Grout cracks mean the backer moved, tile hollow spots mean thin thinset coverage, shower leaks mean a failed pan liner or mud bed, mildew smell means the exhaust fan is undersized, and pressure drop at fixtures means an undersized supply line or a clogged cartridge. A repair contractor should diagnose in writing before quoting; a cosmetic regrout without opening the wall is a patch, not a fix.
Styles & brands we work with
- Kitchen remodeling
- Bathroom remodeling
- Home additions & ADU
- Roofing
- Windows & doors
- Driveway & pavers
- Fence
Table of Contents
- The Symptom-to-Cause Diagnostic Tree
- Why Is My New Grout Cracking?
- Tile Lippage and Hollow Spots: Thinset Coverage
- Shower Leaks at the Pan or Curb
- Persistent Mildew Odor: Fan Sizing in Dallas Humidity
- Pressure Drop at New Fixtures
- Cosmetic Fix vs. Structural Teardown: The Tests
- What Recourse Looks Like in Dallas
- How to Vet a Repair Contractor Differently
The Symptom-to-Cause Diagnostic Tree
Before you call anyone, match what you’re seeing to what it usually means. The five symptoms below cover most post-remodel failures we see on Bathroom Remodeling jobs in Dallas, and the cause column is where the actual work lives. Finish material is almost never the root.
- Grout cracking or crumbling: substrate movement behind the tile. Standard drywall or a poorly fastened backer board flexes under load and thermal cycling. The fix is substrate, not caulk.
- Tile lippage or hollow-sounding spots: thinset coverage under 80% of the tile face. Tiles weren’t back-buttered, or the trowel notch was too small for the tile size.
- Water at the curb, wall base, or ceiling below: failed pan liner, a curb poured without a pre-slope, or a mud bed that holds water against the liner.
- Mildew smell that returns within weeks: the exhaust fan moves less air than the room’s volume needs, so moisture stays at the surface.
- Low pressure at a new showerhead or faucet: half-inch supply lines run too far, a partially closed shut-off, a clogged cartridge screen, or a low-flow fixture that wasn’t in the original scope.
The pattern matters more than any single symptom. One cracked grout line near a corner is normal settling. A web of cracks across a whole wall of tile, appearing within a year, points squarely at the backer. That distinction – isolated versus systemic – is the first thing any honest diagnosis should establish.
Why Is My New Grout Cracking?
Grout cracks when the surface it binds together moves more than the grout can tolerate. Cement grout has almost no flexibility, so a substrate that flexes even a fraction of an inch under a footstep, a shut door, or seasonal movement will crack the joints. In Dallas, the wet-dry cycling of a shower combined with a home’s natural framing movement accelerates this inside a single year. The grout isn’t defective; it’s telling you the wall behind it is.
What’s behind the tile decides whether you’re looking at a cosmetic fix or a teardown:
- Cement board or a waterproof foam backer, properly fastened: cracks are usually surface-level. A flexible sealant at the joints and corners, plus a regrout with a polymer-modified grout, can hold.
- Standard drywall behind tile: this is the root cause and it fails predictably. Drywall turns to mush around a shower and offers no structural backing, so the tile and grout move together. No regrout survives this.
- Greenboard treated as waterproof: moisture-resistant drywall resists surface water but is not a waterproof substrate and should never sit behind tile in a wet zone.
- Backer board with no waterproofing membrane: even cement board isn’t waterproof; it’s water-tolerant. A liquid-applied or sheet membrane over it is what keeps moisture out of the wall cavity.
Related failure modes tend to travel together. If you’re also seeing loose toilet tanks, cabinet doors out of square, or shower doors that no longer close cleanly in a Dallas home, the moisture problem may extend past the bathroom. That’s often the moment to look at broader structural and exterior issues before they compound – our guide to Rowan Construction Group Dallas home services covers where bathroom moisture ties into the rest of a house’s envelope.
Tile Lippage and Hollow Spots: Thinset Coverage
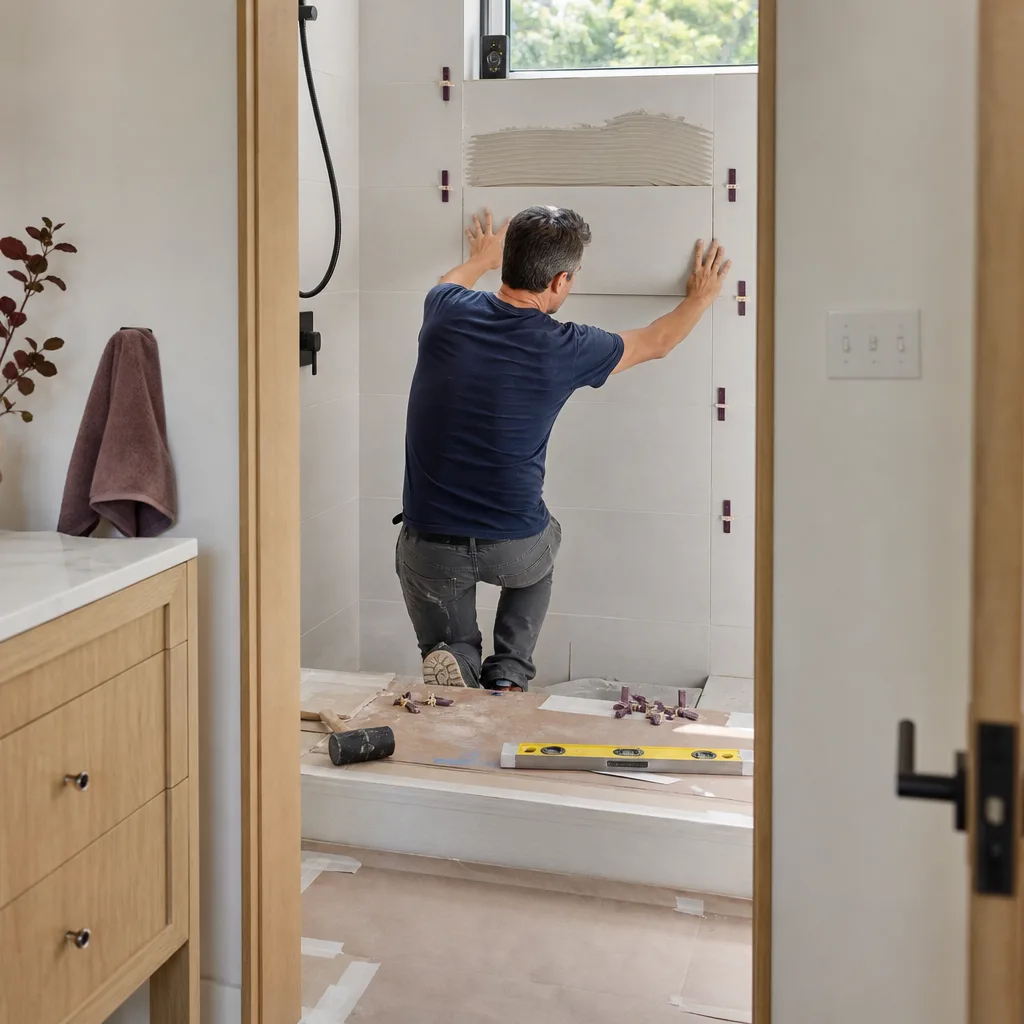
Lippage – one tile edge sitting higher than its neighbor – and hollow-sounding tiles share a cause: thinset wasn’t spread to full coverage, or the tiles weren’t back-buttered. The industry standard for dry-area floor tile is at least 80% coverage under each tile; for wet areas and natural stone, it’s higher. Hollow spots mean air pockets where adhesive should be, and air pockets are where cracks begin and moisture collects.
Why it happens on finished jobs:
- The trowel notch size didn’t match the tile. A small V-notch under a large-format tile won’t spread enough mortar to fill the gaps.
- Large-format tiles were set without back-buttering, so the mortar ridges never collapsed against the tile back.
- Mortar skimmed over before the tile went down, which breaks the bond and creates voids.
- The substrate itself was out of plane, forcing installers to build up adhesive in some areas and thin it in others.
The tap test tells you what you’re dealing with: run a plastic-handled tool across the tile face and listen. A sharp, consistent tap is solid bonding; a dull thud or rattle means a hollow spot. A tile with a few small hollow areas at the edges is often stabilizable. A tile that’s hollow across most of its face, or a whole field of hollow tiles, means the installation will need to be removed and reset. Don’t let a contractor skim grout over it and call it done; grout doesn’t fix a void, it hides one.
Shower Leaks at the Pan or Curb
A shower leak that shows up as water at the base of the wall, a soft spot on a nearby floor, or staining on the ceiling below almost always traces to the shower pan. The pan is the waterproof basin under the tile floor, and it depends on three parts working together: a sloped mud bed that sheds water toward the drain, a waterproof liner (vinyl or a bonded sheet membrane) lapped up the walls and over the curb, and a drain connection with a proper weep path so water under the tile can escape.
- No pre-slope under the liner. If the subfloor is flat and the liner sits on it, water pools under the tile and eventually reaches the curb and wall base. Correct sequence: sloped mud bed first, liner over it, second mud bed on top.
- A nailed curb. Fasteners driven through the liner on top of the curb punch holes in the waterproofing. Curb buildup should hold the liner without penetrating it.
- A clogged weep system. Weep holes at the drain clogged with thinset or debris hold water against the liner until it finds a path out.
- A failed curb or pan corner. The corners of a liner are folded and sealed; a bad fold leaks slowly and often invisibly until it doesn’t.
A surface sealant or a fresh bead of silicone at the curb is not a repair. Shower pan leaks are structural: water has already gotten behind the waterproofing layer, and the wall cavity and adjacent framing need to be opened, dried, and inspected. This is where a written diagnosis earns its fee – only a moisture reading at the wall behind the shower and a look at the pan under the tile can tell you whether the leak is at the curb, the drain, or a failed liner seam.
Persistent Mildew Odor: Fan Sizing in Dallas Humidity
A mildew smell that comes back within weeks of cleaning, or that never fully leaves, is nearly always a ventilation problem – the exhaust fan moves less air than the bathroom’s volume needs. Dallas’s humid subtropical climate makes this worse than in drier markets: outdoor relative humidity is high for much of the year, so an undersized fan that struggles in Phoenix can fail outright in a Dallas bathroom, and moisture never gets a chance to leave the room.
The math is simple enough to check in a minute. The exhaust fan should cycle the room’s full air volume roughly every 8 minutes. To size one:
- Multiply length x width x ceiling height to get cubic feet. A 5 ft x 8 ft bath with an 8 ft ceiling is 320 cubic feet.
- Divide by 8 to get the minimum CFM (cubic feet per minute). That 320 cubic-foot bath needs at least 40 CFM.
- Add for long runs or bends in the duct, and pick a fan rated above the minimum, not exactly at it. For a wet-room bathroom, size to 1 CFM per square foot as a working floor.
A Dallas bathroom with a window but no fan is not “ventilated” – windows get closed in summer heat. If your existing fan is at or below the minimum, or if you can hold a tissue to the grill and it barely lifts, the fan is the cause. A too-small fan, a fan vented into the attic instead of the exterior, or a duct with a crushed flex run will all produce the same returning odor. Roof and vent work that’s out of scope shows up on this same list, which is why exterior envelope questions sometimes fold into a Home Additions & ADU in Dallas scope when a bathroom needs new roof penetration for a proper exhaust run.
Pressure Drop at New Fixtures
Noticeably weaker water at a new showerhead or faucet after a remodel narrows to a few causes, and the fixture itself is usually last on the list. Check in this order:
- Clogged aerator or cartridge screen: construction debris, flux, or mineral scale settles in the fixture’s screen. Remove and rinse; this alone solves a surprising share of complaints.
- Partially closed shut-off valve: a supply valve under the vanity or in a closet was left half-open at final trim. Check it before blaming the plumbing.
- Undersized supply line: long runs of half-inch PEX or copper to a distant fixture can starve flow. A dedicated line helps, but rerouting is real work.
- Low-flow fixture not in the original scope: a 1.8 GPM showerhead feels weak if the old one was 2.5 GPM. Compare the spec before assuming a defect.
- Clogged valve cartridge: sediment trapped in the cartridge restricts flow. A new cartridge with a flush usually resolves it.
Before replacing fixtures, a good plumber will test static and dynamic pressure at the shower arm and compare it to the house’s main. If the whole house has low pressure, the issue may be at the meter or a failing pressure-reducing valve, not the bathroom at all. Dallas homes on older service lines see this often; the fix is upstream, not at the new tile.
Cosmetic Fix vs. Structural Teardown: The Tests
The single most useful decision a homeowner makes after a remodel goes wrong is whether to patch or open. These three checks – all of which a qualified contractor should perform and document – tell you which side of that line you’re on.
- The tile tap test. Run a plastic tool across the tile face to find hollow spots. Isolated hollow edges near a corner are stabilizable; a hollow field across a wall or floor is a reset. Document which tiles fail and where, with photos.
- Moisture meter readings at drywall behind fixtures. A pin-type meter, read at the wall behind a leaking shower and at the ceiling below, gives you numbers to compare against a dry baseline. Elevated readings well beyond normal ambient humidity confirm moisture is in the cavity, not just on the surface.
- Look at the waterproofing membrane, not the surface grout. A failed membrane typically shows cracks, ripples, or a lifted seam at a corner or drain, and water has migrated behind it. A surface grout failure shows as a crack in the joint with the backer still firm under it. The distinction is whether moisture has passed the waterproofing layer; if it has, no cosmetic fix holds.
Get the diagnosis in writing. A report that says “grout crack at north wall, hollow tile at drain field, moisture reading at curb 22% vs. 11% baseline” is a repair plan. A quote that says “regrout shower” without any of that is a cosmetic patch, and you’ll be back here in a year.
What Recourse Looks Like in Dallas
If the original contractor is still reachable, you have leverage – but only if you build a paper trail in the right order. Written notice creates the record a warranty claim depends on, and Texas gives you a defined path if a dispute escalates. The sequence matters:
- Photos with context. Date-stamped photos of each defect, plus a wider shot showing where it sits in the room. A dash of scale (a tape measure in frame) helps.
- Written notice to the contractor. Send a dated message – email or text – describing the problem, referencing the original scope, and requesting a written response and a site visit. Keep a copy.
- A written response request with a deadline. “Please respond in writing within 10 days with a diagnosis and remediation plan.” That deadline is what moves a claim from conversation to evidence.
- Check your warranty documents. Under the Haven Standard that backs every Rowan job, the 365-Day Done Right Promise is printed and backed by a terms page – not an asterisk. If you’re the customer and the fix is ours, we make it right. If it’s another contractor, your warranty language and the paper trail above are what you send them.
- Escalate formally if needed. For unresolved disputes, the Texas Residential Construction Commission process and, where applicable, the Texas Real Estate Commission for licensing matters are the formal routes; a written record of notice and response is what these processes are built on.
One more local note: Texas has no statewide general contractor license, so “licensed” on a card means the trade license that applies, not a builder’s license. That’s why the written scope, warranty terms, and photo record matter more here than a single credential on a business card.
How to Vet a Repair Contractor Differently
A repair contractor and a remodel contractor are doing different jobs, and you should evaluate them differently. The remodel contractor sold you a design and a finished room. The repair contractor’s first product is a diagnosis, and a diagnosis you can’t see is worth nothing.
What to require before hiring a repair:
- An on-site diagnosis in writing before a quote. The contractor should open the wall or test the system – tap, moisture meter, thermal if it helps – and report the readings. A quote delivered without touching the bathroom is a guess.
- A scope that names the cause. The written quote should say “remove and reset 14 sq ft of shower floor tile, replace pan liner, re-slope mud bed” or whatever the diagnosis requires – line-item work, not a single round number.
- A written price before work starts. The fix is priced in writing, and any change is signed before it’s performed. That’s the discipline that keeps costs predictable.
- A photo record of what was found. You should see the failed liner, the hollow tile, or the moisture reading in photos, not just hear about it.
- A written warranty on the repair. The same standard that covers a full remodel should cover the fix.
We’ll review any written estimate line by line at no charge through our Free Second Opinion offer. If a contractor’s quote doesn’t name a cause, bring it in; it usually takes less than an hour to see where the scope is thin. Whether the work is inside the bathroom or outside on the property, the same documentation standard holds – it’s the same standard we apply on Fence Installation in Dallas and every other trade, and the crews are background-checked and uniformed with a photo record on every visit.
Common Mistakes to Avoid
- Accepting a regrout as a fix for substrate failure. If the backer was drywall or unwaterproofed cement board, new grout cracks again because the wall still moves. The finish can’t out-perform the substrate.
- Letting a contractor seal over a moisture problem. Caulk and topical sealants trap water at the surface and hide readings, so the damage grows behind an intact-looking wall. Fix the leak, then dry, then finish.
- Choosing a fan by price instead of CFM. A budget fan rated below the room’s volume will leave a Dallas bathroom humid after every shower. Size to the math, then pick the brand.
- Skipping back-buttering on large-format tile. The most common cause of hollow spots in a finished shower. If you’re interviewing installers, ask how they bed large tile and whether they back-butter.
- Ignoring the cue that the problem is house-wide. Bathroom moisture plus loose nearby cabinets or a sticking shower door can signal framing or envelope issues. One failed shower can be local; several failures tell a bigger story, and our Driveway & Pavers in Dallas and exterior teams see the same drainage and grading problems from the outside.
- Hiring on a phone quote. A repair price given without opening the wall or testing the system is a cosmetic guess. Require the diagnosis first.
- Not documenting before you call. Photos, moisture readings, and dated written notice turn a dispute into a claim. Without them you’re negotiating from memory.
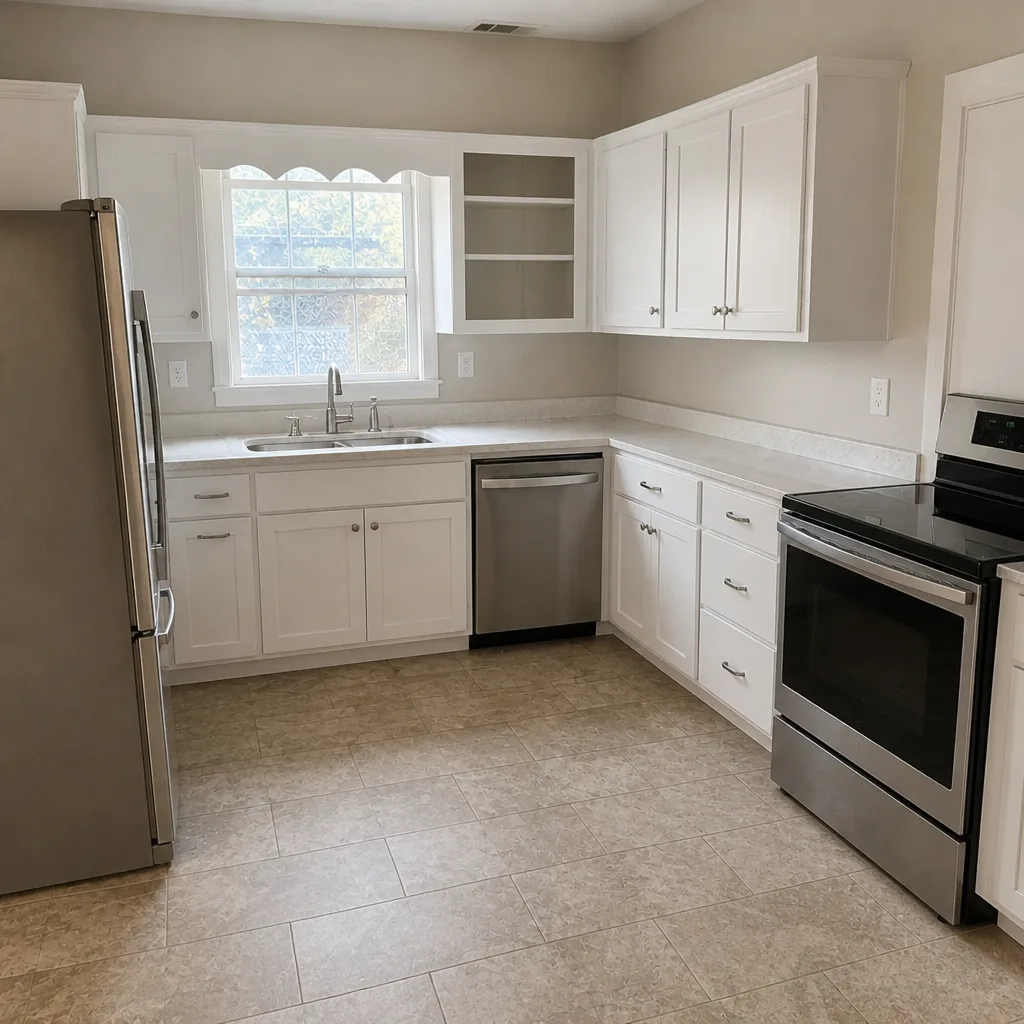
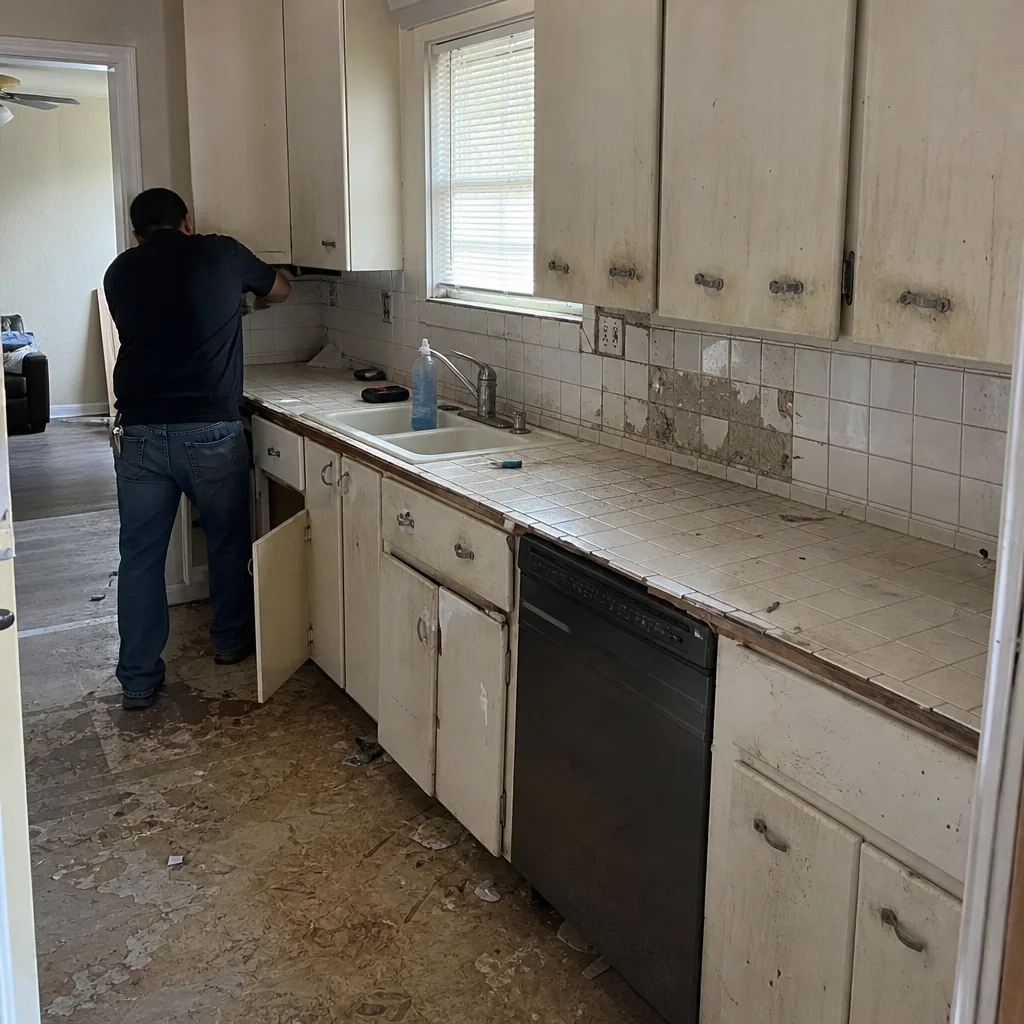
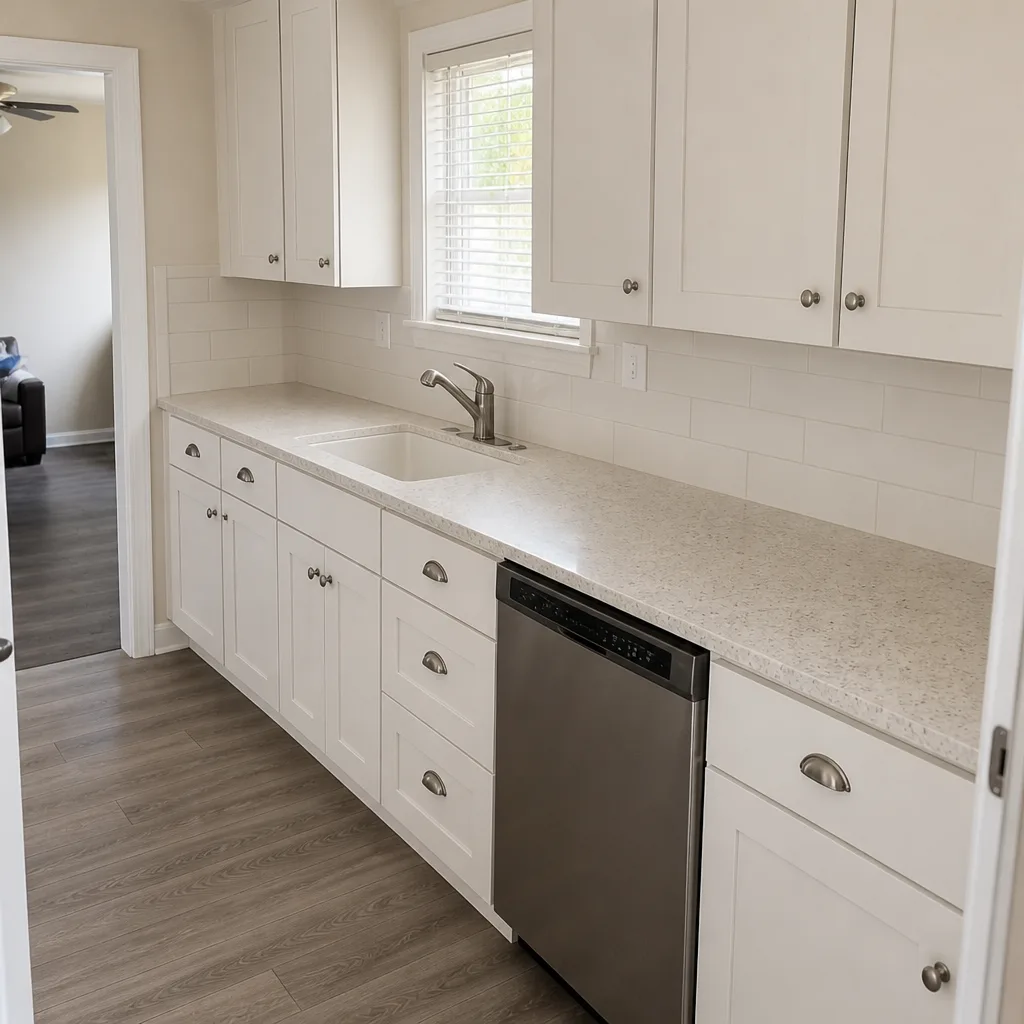
See the difference
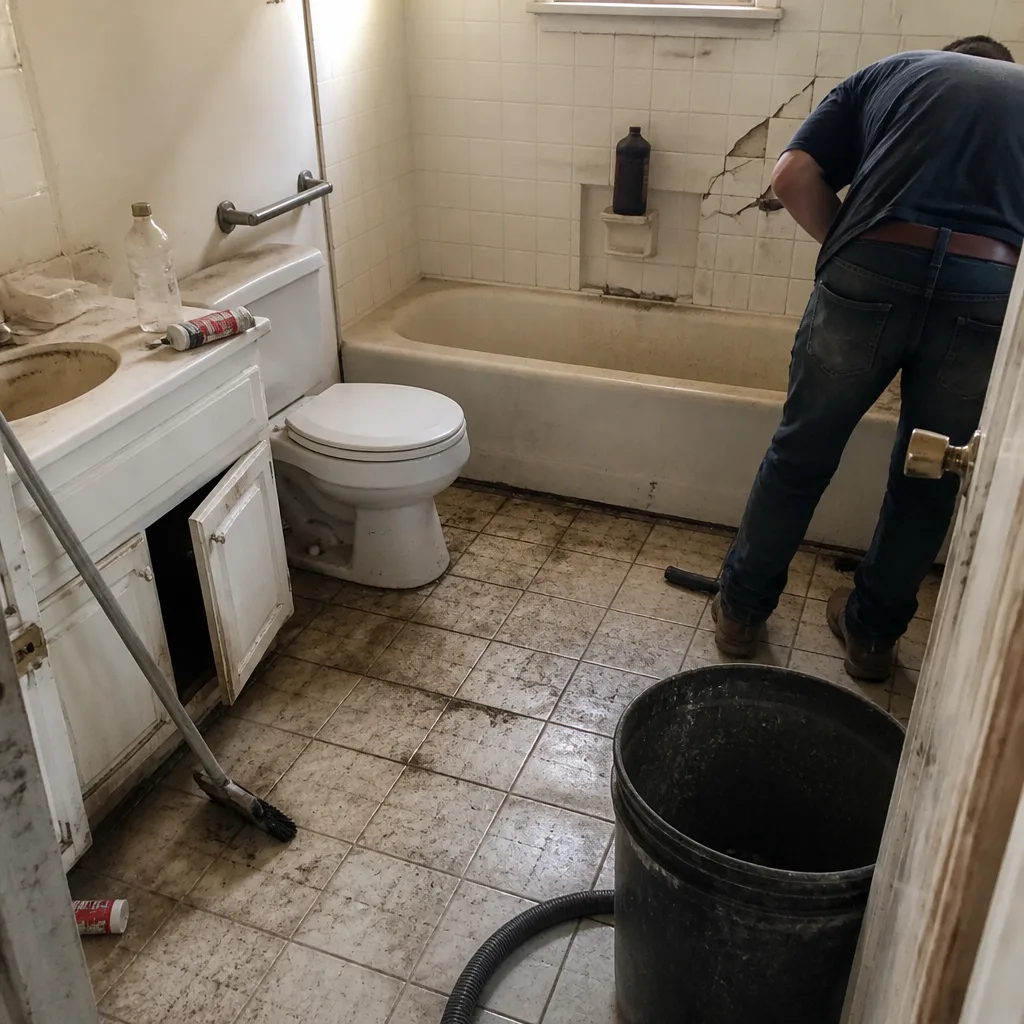 Before
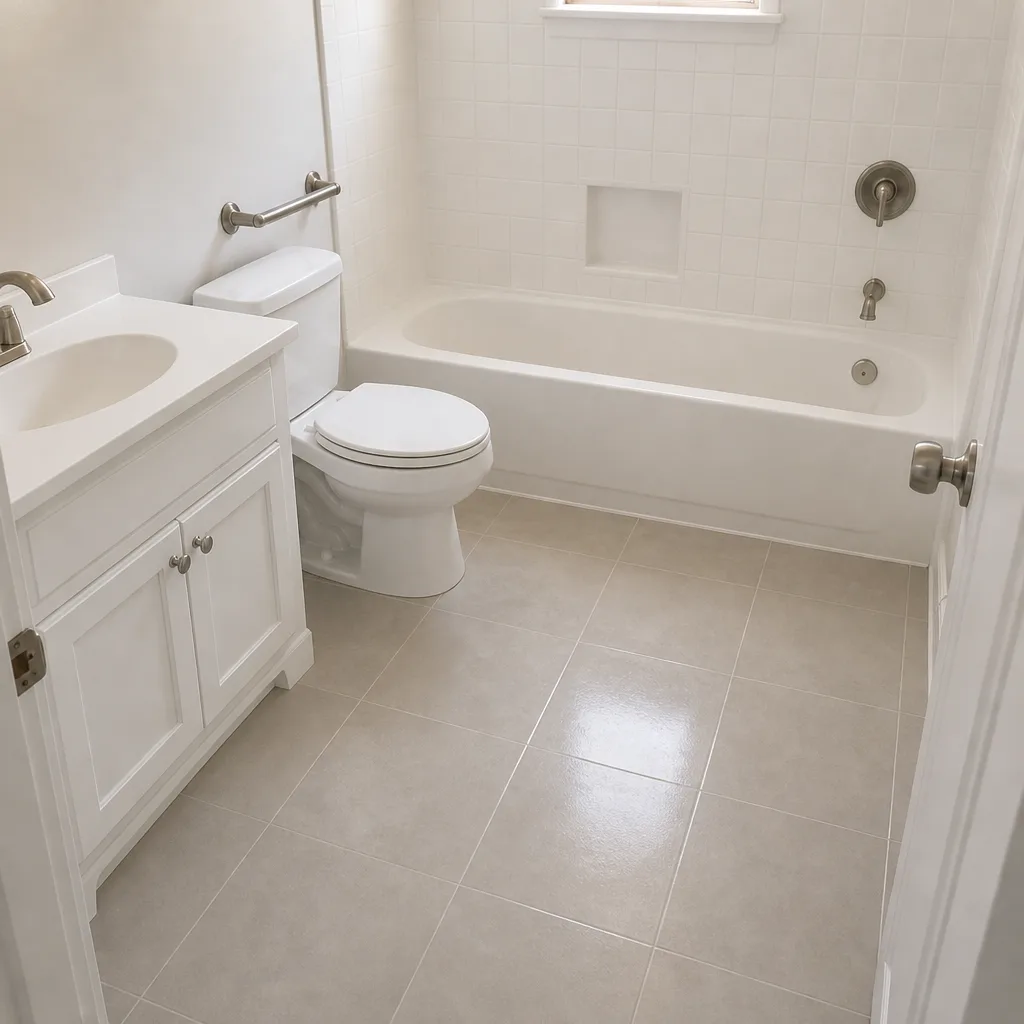 After
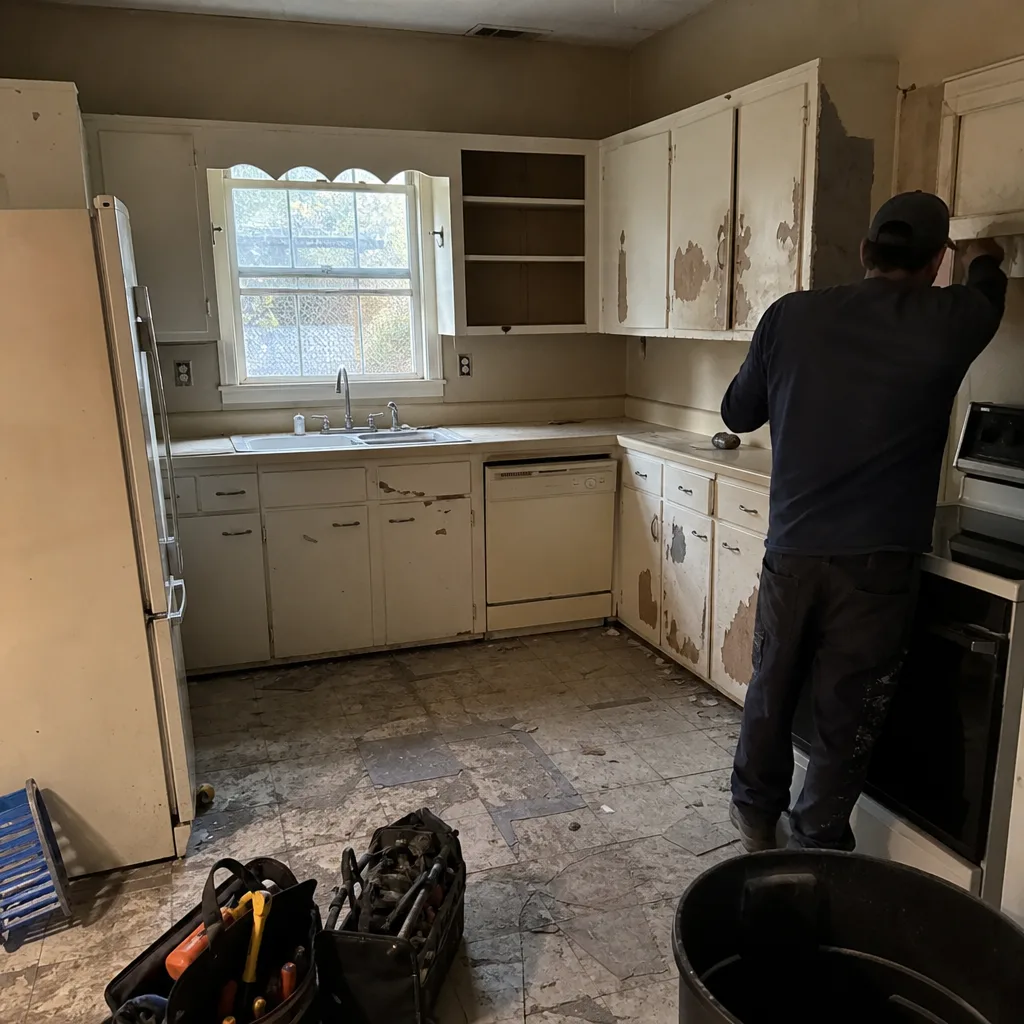 Before
 After
 Before
 After
When to Call a Professional
Call a professional if you see any of these: water at the base of a shower wall or staining on the ceiling below, a web of grout cracks across a wall rather than a single hairline, a field of hollow-sounding floor tiles, a mildew smell that returns within a week of cleaning, or a spreading moisture reading behind a fixture. These cross the line from cosmetic to structural, and each one requires opening a surface, which is not a homeowner project. The one caution worth repeating: do not attempt to diagnose a shower pan leak by cutting into a tiled shower floor or removing a membrane yourself – a waterproofing layer is a system, and disturbing it makes the leak harder to find and the repair larger. Our technicians have up to 19 years of experience reading exactly these symptoms. Rowan Construction Group Dallas offers free estimates in Dallas – call (833) 954-5327 to schedule yours.
Frequently Asked Questions
Grout cracks within a few months when the substrate behind the tile is moving, most often standard drywall used instead of cement board or a waterproof foam backer. The grout is fine; the wall is flexing. Regrouting without addressing the substrate will crack again, so the correct next step is a tap test and a moisture reading to confirm what’s behind the tile.
Shower pan repair in Dallas typically runs a few hundred to several thousand dollars depending on whether the pan needs a partial reset or a full teardown, whether tile matches are available, and how much wall behind the shower has to be opened. Because the cost swings that widely on the diagnosis, the range should come after an on-site inspection and moisture readings, not before. Call (833) 954-5327 for a written diagnosis and an exact quote – estimates are free.
Divide the bathroom’s cubic feet (length x width x ceiling height) by 8 to get the minimum CFM the fan should move, and add margin for long or bent duct runs. A 5×8 bath with an 8-foot ceiling needs at least 40 CFM. In Dallas humidity, size at or above 1 CFM per square foot so the fan keeps up with the outdoor moisture load.
Cosmetic repairs like regrouting and fixture swaps generally don’t require a permit, but structural work – replacing a shower pan liner, moving a drain, altering the plumbing rough-in, or changing the framing – does. Rowan pulls permits and passes inspection on permitted work as standard, and the exact permit requirement depends on your address and scope, so confirm before anyone opens a wall.
No – not if the crack is more than a single hairline or the tile is hollow underneath. Regrouting a failed pan holds for weeks, not years, because water is still getting behind the surface. The tap test and a moisture reading tell you whether the crack is a surface issue or a sign the waterproofing has already failed.
Only with a signed change order. A proper repair quote is written before work starts with a stated scope; if opening the wall reveals damage the diagnosis couldn’t see, the contractor should present the change, price it in writing, and get your signature before proceeding. No change proceeds without that signature – that’s the discipline that keeps a repair within a few percent of the agreed number.
The Bottom Line
Bathroom remodel failures that surface after the job is done almost always trace to what happened before the tile went up: the substrate, the thinset coverage, the pan liner, the fan size, or the supply run. Diagnose from the symptom to the cause before anyone touches a finish material. Run the tap test, take moisture readings, and get a written diagnosis – cosmetic patches on structural problems cost more the second time. If the original contractor is reachable, build the paper trail in order: photos, written notice, a response deadline. Then hire a repair contractor who diagnoses before quoting. That’s the difference between a fix that holds and a grout line you’ll be looking at again next spring. When you’re ready to price it properly, call (833) 954-5327 for a free estimate.
Written by the team at Rowan Construction Group Dallas.